First of all, gather everything that you need:-
- plain lampshade
- fabric
- large piece of paper ( a length of wallpaper is ideal)
- scissors
- pencil
- straight edge
- spray fabric glue (repositionable)
- glue gun
- cutting mat and cutter ( optional)
1. Trace the lampshade onto the paper to create a template. Take time to do this accurately following the line slowly top and bottom and marking the start and finish point.
2. Join the edges with a ruler. Add 1cm to one of the vertical edge. This will create a neat finish where the edges join.
Add 1cm to top and bottom edges.
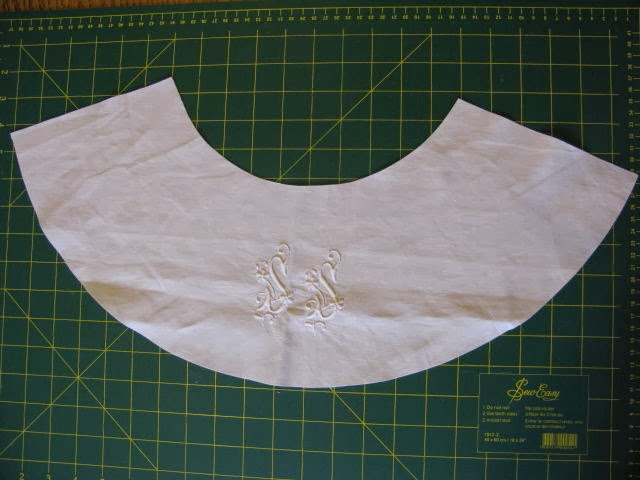
3. Cut out the template and then trace around it onto the wrong side of your fabric. If you are using a patterned fabric, be sure to position the template along the grain of the fabric. If you are using fabric with a motif or embroidery like mine, make sure it is central. Cut out the fabric.
5. Starting at the raw vertical edge, carefully roll the shade along the fabric, lining up the edges as you go. Most small creases can be smoothed out but you may need to peel it back from time to time to ensure it lays flat. The folded seam should neatly cover the raw edge where they meet.
6. When you are happy with the finish, tuck under the overlapping fabric at top and bottom. You may need a little glue from a glue gun at this stage to ensure it sticks firmly.
7. That's it. Sit back and enjoy your handiwork!


No Comments Yet, Leave Yours!